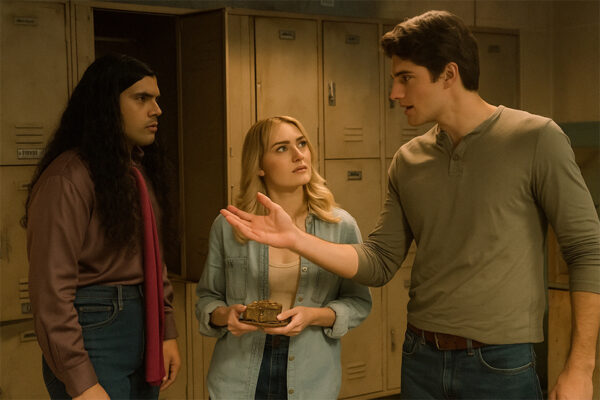
John seems destined for death and Betty’s getting too suspicious of his new friends. Many secrets and match-ups in this week’s episode.
Note: This recap may contain spoilers!
The episode focuses on vampires, always a favorite monster. The case kicks off when a group of vampires wrecks an armored truck to get at the loot inside. But instead of focusing on riches, they are after certain Men of Letters treasures instead. Namely, an amulet. While the Men of Letters box, marked with the initials RJM, does not hold the amulet, it does provide them with a map of the Clubhouse, so maybe they can find the treasure there.
Meanwhile, John and Mary are still curious about the picture of Dean while also trying to keep their relationship a secret. John wants to tell Carlos and Lata, while Mary wants to keep it slow. After all, if their workplace romance goes wrong, it could have deadly consequences. So, for now, they will continue acting as friends when working their cases, while having early morning dates.
Also of note is the reporter, Kyle, who they run into during one of their morning dates. He is surprised to see them together, but doesn’t seem too heartbroken over it. Strangely, though, is why he keeps popping up. That motivation will be revealed later in the episode. As will the fact Betty is investigating Mary and her friends. She is suspicious of the people John’s hanging around with now, especially since they keep showing up at crime scenes. Concerned friend or something more?
The team find the locker of RJM in the Clubhouse. Belonging to Rafael Jude Markham, he has been hiding the lost Gem of Ursitoare amulet inside. It’s a dangerous artifact, one that has the ability to tell the future. This is something John learns quickly, as he gets a glimpse of a vampire killing him when he touches it, and is left with burned symbols on his hand when he lets go. But is his fate sealed or is there any way to change it?
The team head out to see a lore expert, Diana, who was recommended by Anton. Carlos and he went out on one date, but it didn’t go anywhere. Whether that is because they had no spark or Carlos wasn’t ready to pursue it, we did not know at that point. But like many clues, this would also be revisited by the end of the episode.
Diana does seem to be knowledgeable, explaining that the visions will come true, but she’s also been manipulated by the vampires. They have invaded her shop and made her do their bidding, calling them when the amulet showed up. For her cooperation, she gets killed. And the head vampire gains the amulet, with a promise to John that his time will come.
To protect John, the team benches him at the Clubhouse, with Millie to keep him company. They continue to investigate the vampires and their supposed location. Seems like a safe path to follow, but unfortunately there are a few flaws. One is that there is an unwarded entrance from the sewer into the Clubhouse, so the vampires can get in. And another is the fact that, when John and Millie are guided to a vault to help keep them safe, it’s the same room John saw in his vision. This is where he’s destined to die.
Vampire fights ensue outside, with Carlos using a fantastic holy water method to slow them down, while Mary kills her way to John’s location. Only, when she arrives, she sees John’s vision coming true. The vampire is sucking John’s neck. Except, John had a plan. He got Millie to shock him to death so the vampire would be taking in dead man’s blood. That was enough to stun the vampire so Mary could kill it. Now they’ve just got to bring John back to life.
After an emotional scene involving CPR and Mary professing her love in front of Carlos and Lata, John finally awakens and gets a big kiss from Mary. Looks like their secret’s out, though it wasn’t very much of a secret since Carlos and Lata claim they already knew. But now Mary and John won’t have to sneak around.
As we wrap up the episode, we also play out a few clues that were left prior. Anton comes to give Carlos some stitches after the fight and apologizes for Diana. Carlos also has apologies, surrounding the fact he was scared to call Anton after their date. But it looks like they’ll have a second one, so all is well.
And we also find out that Betty and Kyle are working together to uncover the secrets Mary is hiding. But while Betty’s motivation may be her lingering love for John, Kyle’s is more monster-focused. We see the back of his neck and he’s being controlled by the Akrida. So, he will definitely play into future episodes. Fun times!
Rating: 4 / 5 Stars


